
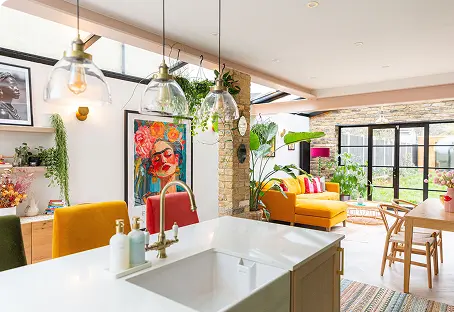

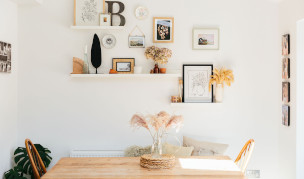



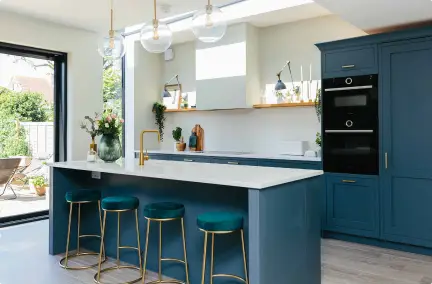
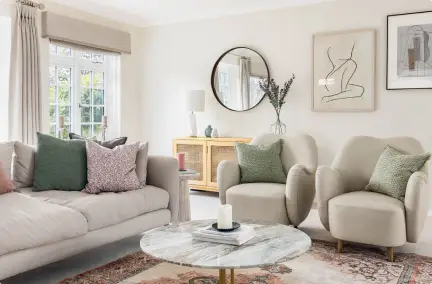
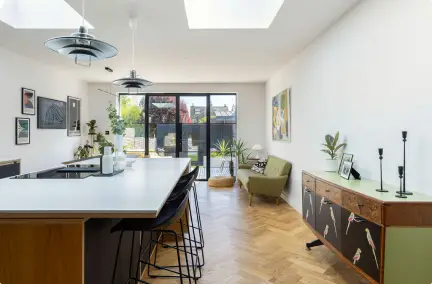
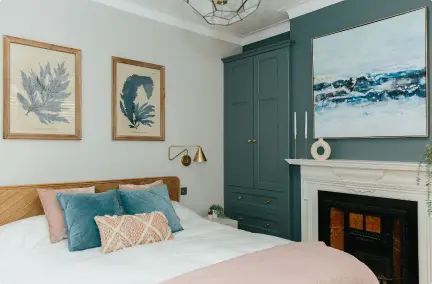
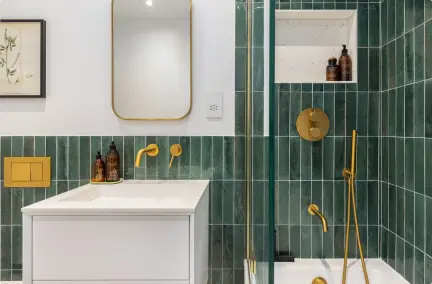













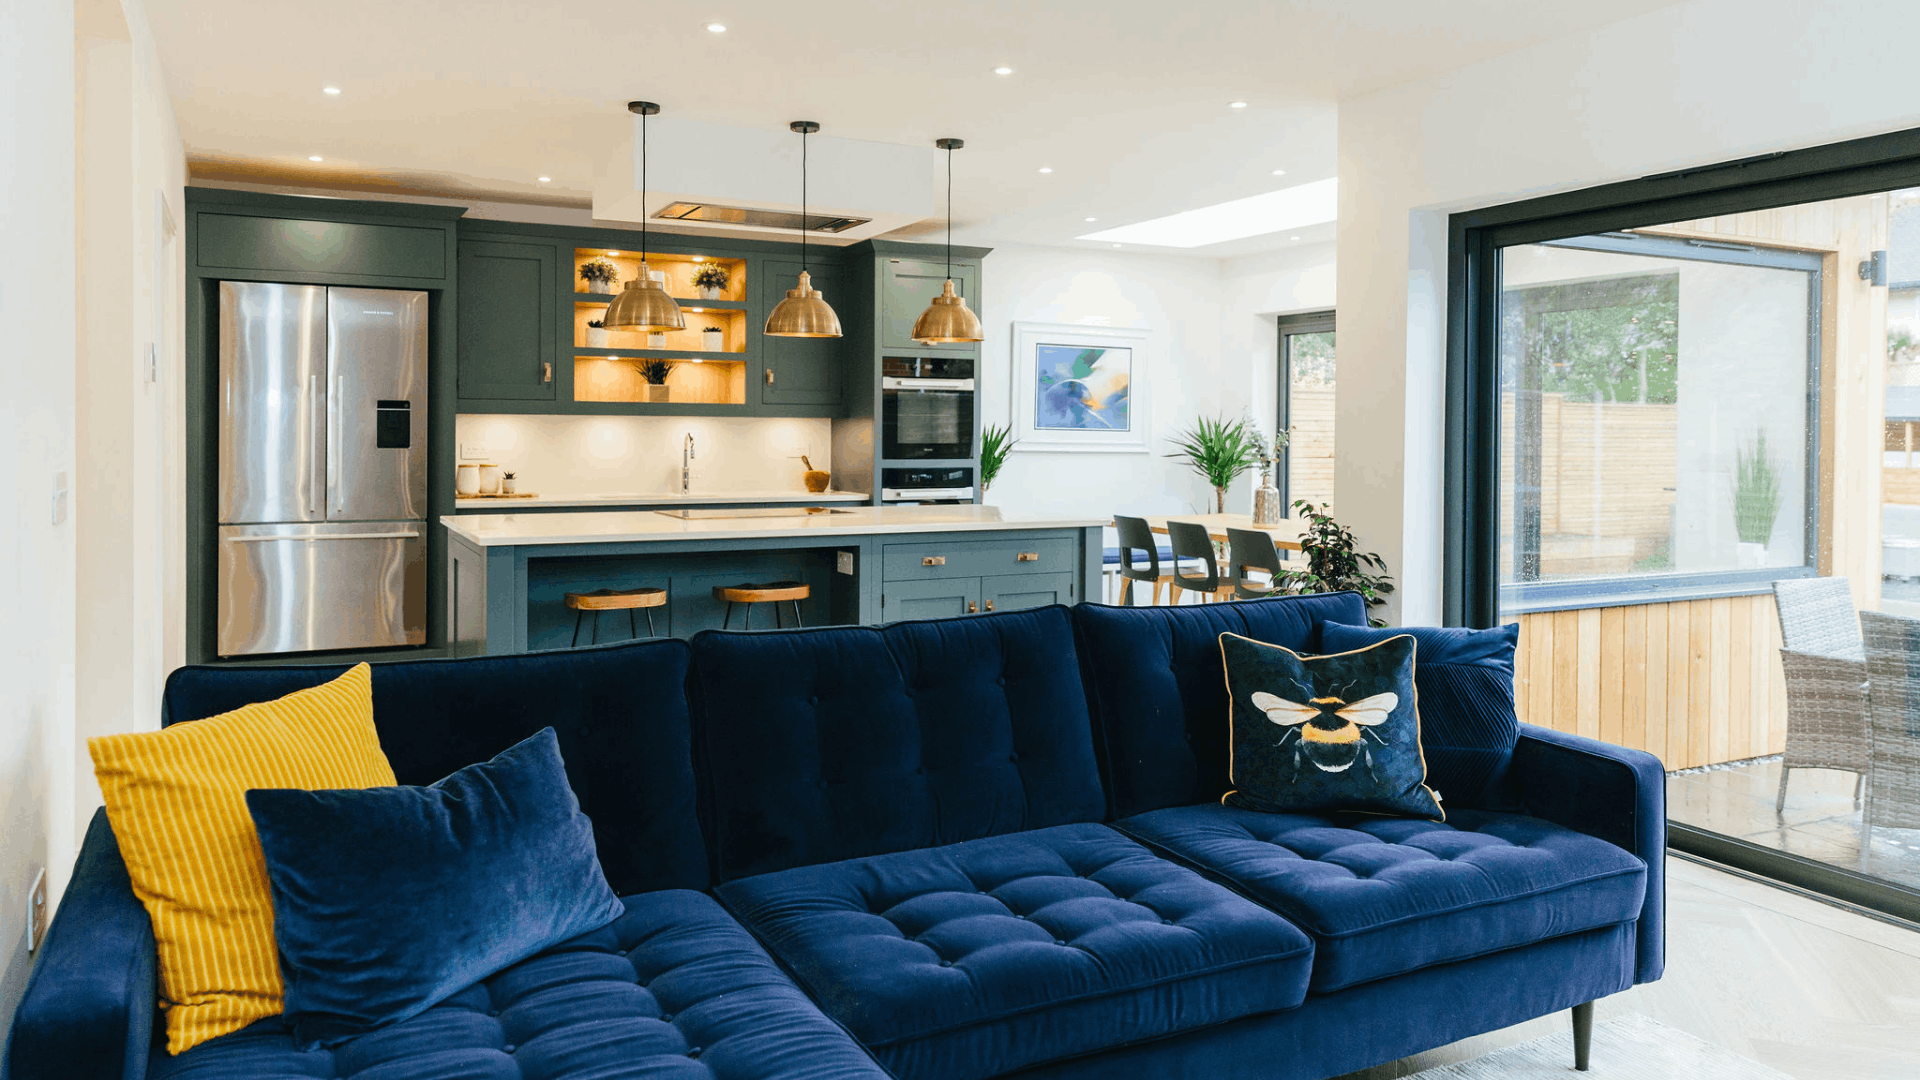

Open-plan living revolutionised the modern home, creating expansive, light-filled environments for families to connect. However, living with an entirely open footprint eventually reveals its challenges. From the visual clutter of post-dinner prep to the clatter of a dishwasher competing with a television, the two areas may end up visually imposing on each other.
By treating the transition zone with structural ingenuity, you can establish an intelligent threshold that offers the best of both open and broken-plan living.

1. Vertical Plane Manipulation
When trying to separate two zones, we naturally look down at the floor layout. However, shifting your gaze upward yields a far more sophisticated result. Altering the ceiling plane is an architectural trick that changes how a volume of space feels without reducing the floor area.
The Dropped Bulkhead
Constructing a shallow, dropped drywall ceiling (or bulkhead) specifically over the kitchen zone introduces a distinct change in scale. The lower ceiling height over the food preparation area creates an intimate, highly functional “work laboratory” feeling. When you step out of the kitchen zone and into the living area where the ceiling steps back up, the lounge instantly feels grander, taller, and entirely separate.

The Recessed Linear Detail
Alternatively, introducing a slim, recessed channel directly into the ceiling plasterboard along the boundary line between the two spaces creates a negative shadow line. Painting the interior of this thin track a deep charcoal or black creates a permanent visual border. It acts as an invisible wall that mentally compartmentalises the kitchen from the lounge.
2. Threshold Flooring Inlays
The standard developer approach to open-plan flooring is a blunt, straight seam where kitchen tile meets living room wood. This harsh line lacks intent and can make the space feel awkwardly cut in half. We prefer an organic, integrated transition.
The Interlocking Border
If you are using hexagonal porcelain tiles in the kitchen and long-plank timber in the living room, avoid cutting them in a straight line. Instead, let the hexagonal tiles naturally spill across the border, interlocking into precisely scribed cuts in the wooden planks. This staggered, mosaic-style threshold acts as a transition zone rather than a geometric boundary.
The Inset Framing Trim
For a more minimalist look, run the same hardwood flooring throughout the entire space, but change its structural pattern at the threshold. Frame the kitchen zone with a classic picture-frame border of planks running perpendicular to the rest of the room, or shift from a sleek straight-plank layout in the kitchen to an elegant herringbone pattern in the lounge. To elevate it further, inlay a slim, 5mm solid brass or matte black metal transition bar flush with the wood to cleanly define the boundary line.
3. Kinetic Joinery
Permanent walls block light, while a wide-open gap lets in visual chaos and cooking noise. Kinetic joinery—movable, architectural panels—allows you to dynamically alter the floor plan depending on how you are using the home.

The Pocket Slatted Screen
Instead of a static wooden screen, install a system of ceiling-tracked, floor-guided sliding panels made of vertical timber slats. When closed, the slats overlap to obscure the view of messy countertops and create a warm backdrop for the living room. When open, they slide seamlessly behind a piece of bespoke joinery or disappear into a wall pocket, fully restoring the open-plan layout.
Smart Glass Crittall Partitions
Traditional glass dividers keep spaces visually unified, but they lack flexibility. Upgrading to sliding pocket doors with integrated acoustic glass lets you trap the sound of blenders or pan lids within the kitchen footprint while maintaining a bright line of sight. For an ultra-premium option, utilise smart switchable glass; with the press of a button, the clear panels can instantaneously turn opaque, instantly hiding unwashed dishes from dinner guests.
4. Double-Sided Joinery
Placing furniture in the middle of a room can feel accidental if it isn’t anchored by architecture. Rather than relying on a standard freestanding bookcase, design a custom piece of floor-to-ceiling joinery that functions independently on both faces.

The Kitchen Face:
On the kitchen side, the joinery structure integrates functional elements. It can house an appliance garage, a hidden pantry door, or a streamlined coffee station clad in easy-to-clean materials that match the kitchen cabinetry.
The Living Face
On the living room side, the reverse face of the same unit is clad in rich timber veneer, soft plaster, or textured wallpaper. It functions as a premium media center, housing a flush-mounted television, hidden cable routes, and low-level ambient lighting nooks.
The Hidden Benefit
Because this joinery acts as a deep, double-sided structural partition, the cavity can be filled with high-density acoustic mineral wool. This creates a dense sound buffer right in the center of the room, significantly reducing the transmission of high-frequency kitchen noises to the relaxation zone.
5. Architectural Lighting: Shifting Colour Rendering Index (CRI)
While layering general fixtures is standard practice, true spatial division comes down to controlling the quality, temperature, and Colour Rendering Index (CRI) of the light source between the two zones.

Crisp, High-CRI Functional Light
The kitchen is a workspace. It requires crisp, cool-to-neutral illumination—ideally 3000K to 4000K—with a high CRI rating (95 or above). This ensures absolute clarity for food preparation, making ingredients look vibrant and natural. The lighting here should be strictly directional, focused directly down onto work surfaces to avoid spilling harsh glare into the rest of the room.
Warm, Low-Glare Living Pools
In contrast, the living room should operate on an entirely separate, low-voltage control circuit configured at a warm 2700K or lower. Instead of casting light downward from the ceiling, use low-glare, indirect illumination that bounces off vertical surfaces—such as concealed LED plaster-in coving lines or flush floor uplighters that graze across curtains. This dramatic shift in colour temperature tells the brain that you have stepped out of a high-energy workspace and into an inviting sanctuary for relaxation.
FAQ:
Use furniture, changes in flooring, lighting, screens or open shelving to create a clear boundary between the two areas. Sliding partitions or slatted panels can provide stronger separation while still allowing the spaces to remain visually connected.
Give each area its own visual anchor. A large rug can define the living zone, pendant lighting can highlight a kitchen island or dining area, and furniture such as a sofa or shelving unit can establish a clear transition between spaces.
Glass partitions, glazed sliding doors and open or slatted screens can divide the spaces while allowing daylight and sightlines to continue through the room. They are particularly useful when you want more separation without returning to a fully enclosed layout.
Soft furnishings such as rugs, curtains and upholstered furniture can help absorb sound, while partitions or substantial shelving can provide an additional barrier between zones. If noise is a major concern, glazed doors or acoustic materials can offer stronger separation while preserving the open feel.
