


We’ve all got that one room. The one with the weird alcove that fits absolutely nothing, the lounge shaped like a bowling alley, or the “open plan” space that just feels like a furniture car park.
When you’re tackling your home one room at a time, hitting a layout snag can properly derail your momentum. It causes what we call “Project Paralysis”—you stare at that awkward corner for so long, you eventually just walk away.
But here’s the secret: The quirks are actually opportunities.
Here is how to navigate the three most common layout headaches, so you can stop stressing and start shopping.
Let us help with tackling your project paralysis with The Design Fix!
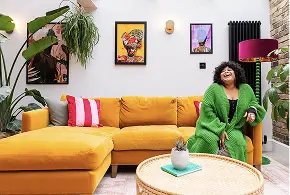
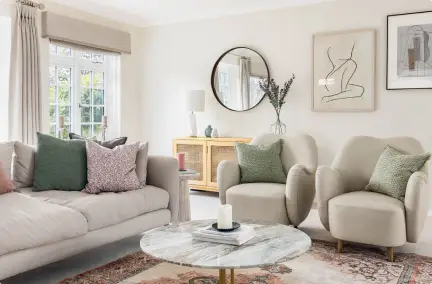
1. Long & Narrow Living Rooms
The Problem
You feel inclined to push all the furniture against the walls to “save space,” but it ends up looking like a waiting room. The middle of the room becomes a vast, empty runway.
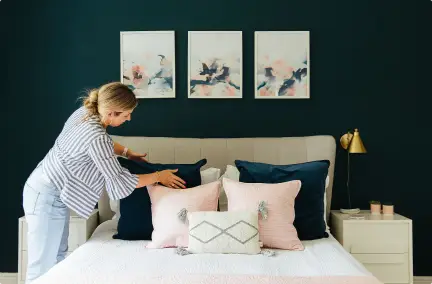
The Fix: Float the Furniture.
Pull your sofa away from the wall. Seriously. Even just a few inches creates breathing room, but ideally, you want to bring seating into the centre to create a cosy conversation circle.
- Zone it out: Use two different rugs to visually slice the room in half—one for lounging/TV, one for a reading nook or a desk.
- Round it out: Use round coffee tables or ottomans to break up all those straight, parallel lines.
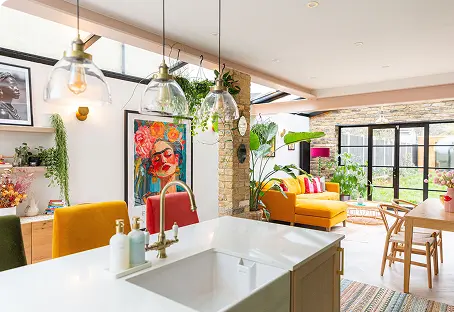
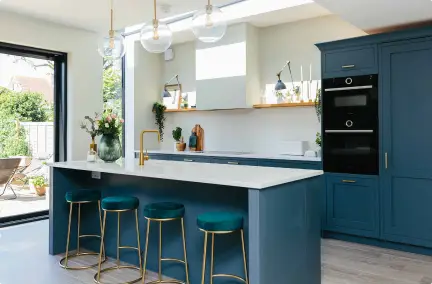
2. Too Many Doors

(Image Credit – My Bespoke Room)
The Problem
It’s a room, but it’s also a corridor. Maybe it has a door to the kitchen, the hall, and the patio. You have zero solid wall space to anchor a sofa or a bed.
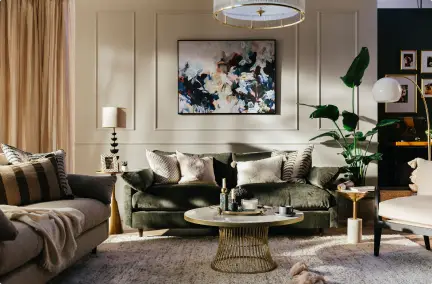
The Fix: Anchor the Centre.
If you can’t hug the walls, claim the middle.
- The Rug is King: A large, grounding rug is essential here. It tells the eye, “This is a destination, not just a thoroughfare.”
- Low Profiles: Keep furniture heights lower so you don’t block the visual flow (or the traffic flow) between those doorways.
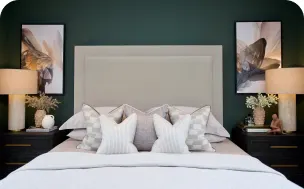
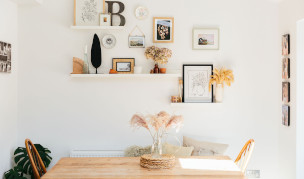
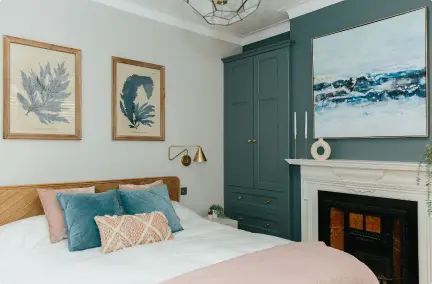
3. Awkward Empty Space

(Image Credit – My Bespoke Room)
The Problem
A random architectural hiccup. Maybe it’s a deep alcove next to a fireplace or a weird space under the stairs. It’s too small for a sofa but too big to leave empty.
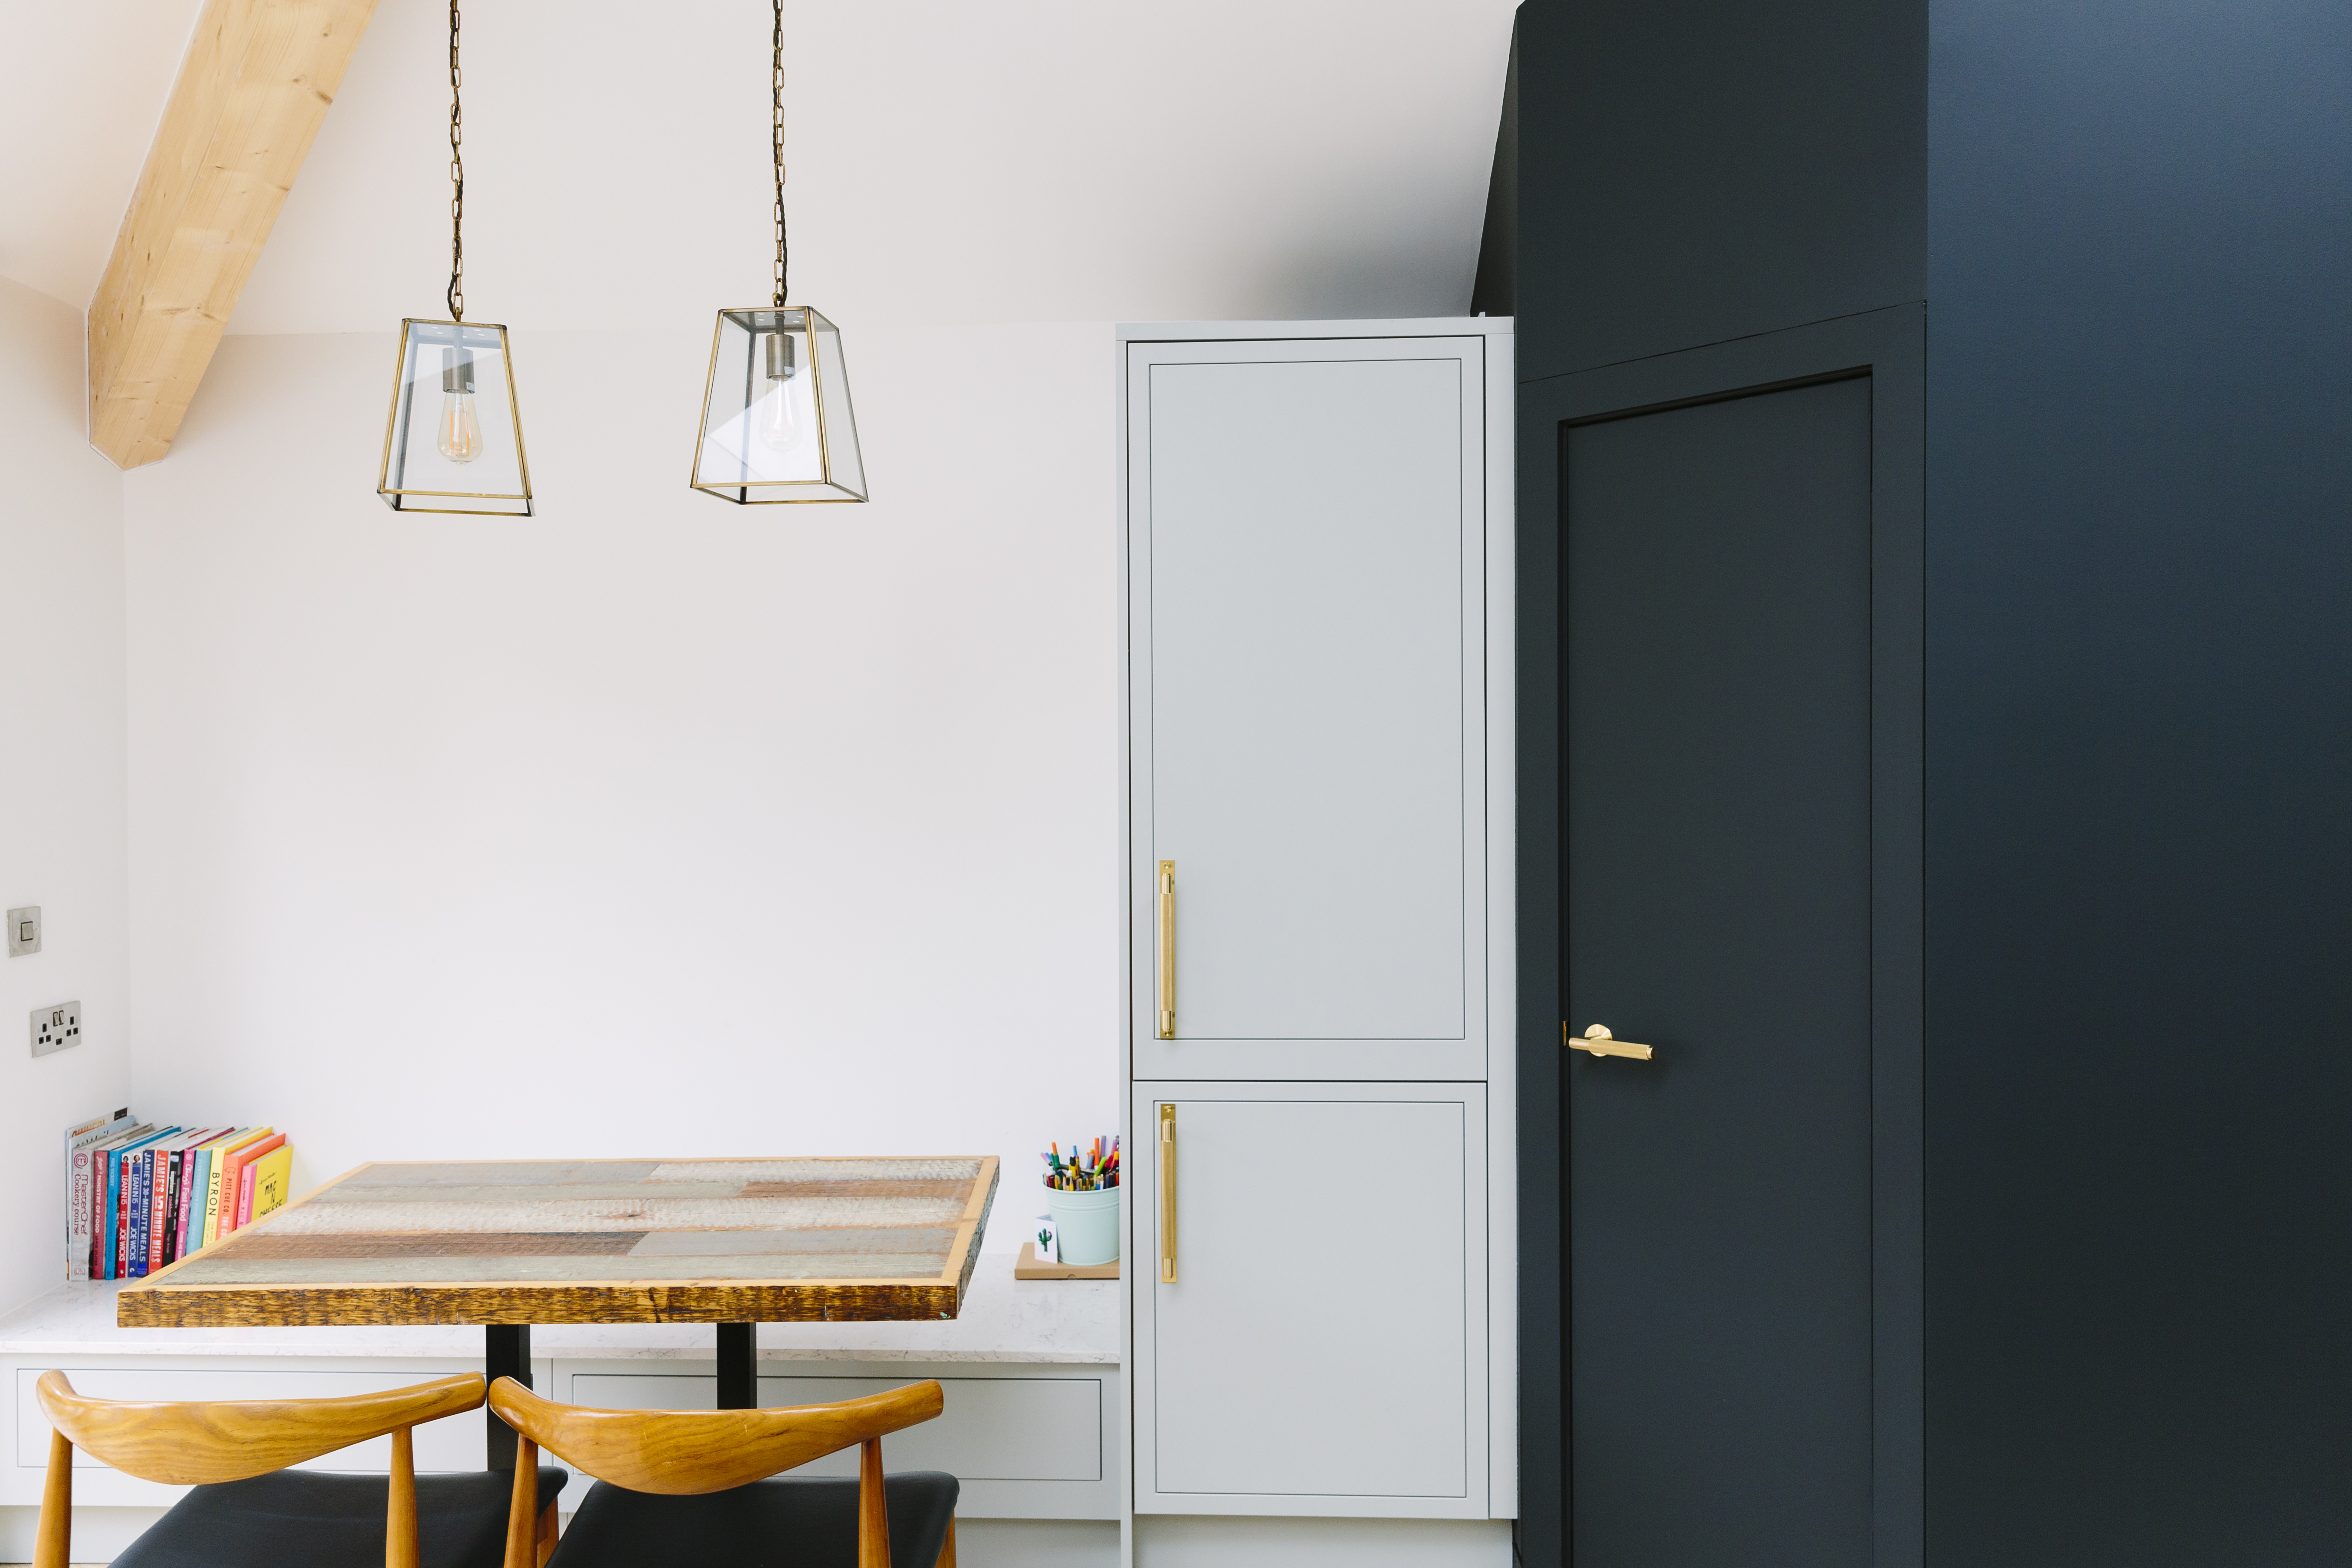
The Fix: Give it a Job.
Don’t just put a plant there and hope for the best. Define that space with a specific purpose.
- The Drinks Trolley: A small console or trolley instantly turns a dead corner into a hosting zone.
- The Solo Seat: A statement armchair + a tiny side table + a floor lamp = a dedicated reading sanctuary.
- Fitted Joinery: When in doubt, go vertical. Bespoke shelving turns awkward gaps into purposeful storage.
The Golden Rule: Don’t Rush the Layout
We know that finding the right flow takes time. Data shows that most people take about 40 days to commit to a design, and that’s okay. You aren’t browsing aimlessly; you’re problem-solving. Don’t let a tricky layout freeze you up. Pick one corner, solve it, and let the rest of the room follow.
Fancy a quick fix? Book a Design Fix with one of our designers today:
Real Design Dilemma – Layout Explained
Our wonderful design team will often provide multiple options for layouts, just like this real design dilemma. The client’s beautiful home featured an open-plan living/dining room but they hadn’t fully figured out the best way to utilise their space.
1. Layout 1: The “Snug” Concept

(Image Credit – My Bespoke Room)
- The Setup: The top-right room is walled off (or partially partitioned) to create a cosy, separate TV room or “snug” with a sofa and media unit.
- The “Why”: This design focuses on acoustic and visual privacy. It allows one group to watch TV in the snug while others cook or chat in the dining area without disturbing each other. It creates distinct “zones” for different activities.
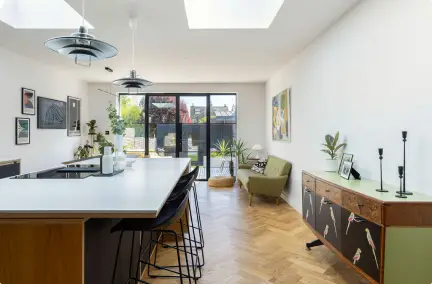
2. Layout 2: The Grand Open Plan

(Image Credit – My Bespoke Room)
- The Setup: The top-left area (formerly the kitchen) is transformed into a massive formal living room. It features a large corner sofa and a separate conversation area with two armchairs and a round rug.
- The “Why”: This is designed for entertaining. It creates a luxurious, “hotel lobby” feel where guests can flow freely between the sofas, the armchairs, and the dining bar. It prioritises social flow over privacy.
3. Dining Dynamics
- Layout 1: Formal floating dining table. This suggests traditional family meals where the table is a standalone gathering spot.
- Layout 2: Integrated Island dining. The dining table is attached to the kitchen island. This is a more modern, casual approach (often called a “chef’s table” setup). It saves floor space and keeps the food service and eating areas tightly connected.
Have an upcoming project but don’t know where to begin? Get tailored advice in a FREE 30-minute call.
Summary: Which Layout is for Whom?
Layout 1:
- The Family Oriented Client: Someone who wants a dedicated space to watch films (the snug) separate from the noise of the kitchen.
- The Chef: Someone who wants maximum prep space and a large, commanding kitchen.
Layout 2:
The Minimalist: Someone who prefers a kitchen that is tucked away rather than being the dominant visual feature of the reception room.
The Entertainer: Someone who hosts parties and wants a massive, impressive open space where 10-15 people can mingle comfortably.