




















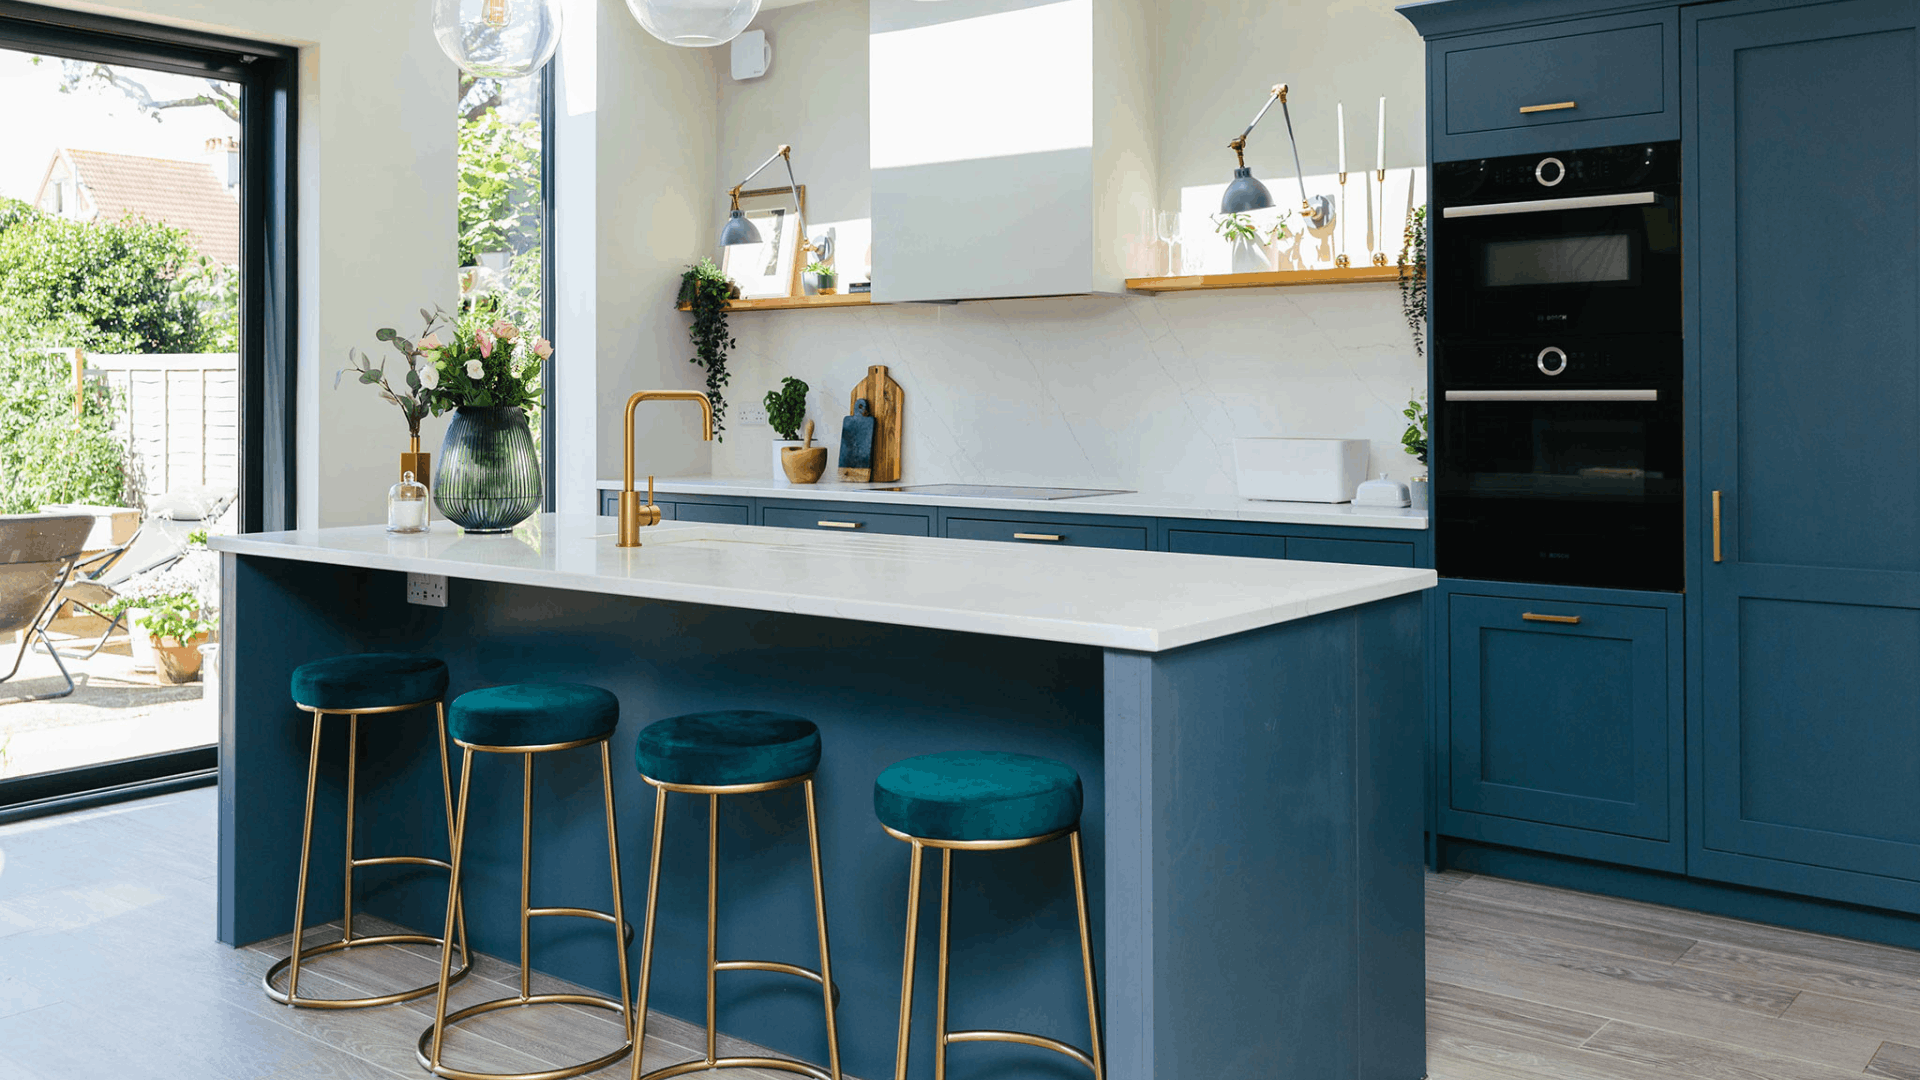
Want to transform your kitchen? While you may be used to wall painting, today’s job requires a bit more effort and a different set of skills. Always remember that prep work makes or breaks this task. Kitchens collect years of hidden grease, and applying paint directly over raw grain or oily wood leads to peeling and rough finishes.
To get a professional finish that lasts, you need to strip grease with heavy-duty cleaners, smooth out open wood grain, use a strong shellac-based primer, apply hard-curing cabinet enamel using a “roll and tip” technique, and let the paint fully cure over a few weeks.
Here is a step-by-step breakdown of how to pull it off.

1. A Step You Can’t Miss: The Deep Clean
If cabinet paint peels or bubbles around the handles a few months down the road, invisible grease is almost always the culprit. Everyday cooking oils settle into cabinet nooks and standard kitchen sprays just smear them around.
- The First Pass: Scrub every surface with a heavy-duty degreaser like TSP (trisodium phosphate) or mineral spirits using a coarse scouring pad to break down years of built-up oil and wax.
- The Wipe-Down: Follow up with a rag soaked in denatured alcohol. This clears away any leftover cleaning residue and evaporates quickly, leaving the wood completely bare and ready to bond with paint.

2. Prep the Wood
If you’re working with open-grained woods like oak or ash, paint alone won’t hide those deep grooves and will actually highlight them.
- Fill the Grain: Skim a thin layer of water-based acrylic grain filler across the door with a flexible spreader, pressing it into the pores. Once it dries, sand it completely flat.
- Seal MDF Edges: If your doors have raw MDF edges, treat them before painting! MDF edges soak up paint like a sponge, causing the fibres to swell into a fuzzy mess. A quick coat of drywall joint compound or clear shellac seals the edge so it sands down nice and smooth.

3. Lock It Down with Shellac Primer
Skip the standard 2-in-1 paint and primer here. Kitchens demand a serious barrier coat to prevent wood tannins and old stains from bleeding through your fresh paint.
A shellac-based primer (like Zinsser B-I-N) is the secret weapon for cabinet refinishing. It sticks to glossy, stubborn surfaces far better than standard water-based options and creates an ironclad base layer.

4. Pick the Right Paint & Use the “Roll & Tip” Trick
Wall paint or basic interior latex is too soft for kitchen use—it will scuff, show fingerprints, and soften near handles. Instead, grab a waterborne alkyd enamel. It gives you the rock-hard, self-levelling finish of old-school oil paint, but cleans up with soap and water and won’t yellow over time.
Don’t have an expensive spray rig? You can still get a streak-free finish by hand:
- Roll on a thin coat: Use a 4mm microfiber or high-density foam mini-roller to lay down a thin, even coat of paint across the panel.
- Tip off with a brush: While the paint is still wet, take a soft synthetic brush and gently drag the tips of the bristles from one end to the other in long, smooth strokes parallel to the grain.
Why this works: Tipping pops the tiny air bubbles left by the roller and smooths out brush marks before the paint sets.

5. Be Patient: Dry vs. Cure Time
This is where most DIYers accidentally ruin a great job. There is a huge difference between paint being dry and paint being cured:
- Dry Time (1 to 4 hours): The water has evaporated. The doors are dry to the touch, and you can handle them gently or add another coat.
- Cure Time (2 to 4 weeks): The paint resins are actively cross-linking and hardening.
You can rehang your doors once they are dry, but treat them with gentle care for the first month. Avoid heavy scrubbing, harsh chemicals, or letting wet dishes rest against the edges until that finish reaches its maximum hardness!
FAQ:
Choose a durable paint designed for high-contact surfaces rather than standard wall paint. Hard-wearing cabinet enamels, including waterborne alkyd paints, are designed to resist regular handling, cleaning and everyday kitchen wear.
In most cases, yes. A suitable primer helps the new paint adhere properly and can prevent stains, wood tannins or the previous finish from showing through. Thorough cleaning and surface preparation are equally important for a long-lasting result.
It is possible, but removing the doors and hardware usually makes preparation and painting easier and helps produce a neater finish around edges, hinges and handles. Label each door before removal so it can be returned to the correct position.
Paint may feel dry within a few hours, but full curing takes much longer. Depending on the product, a hard cabinet finish can take around two to four weeks to reach maximum durability, so treat newly painted doors gently during that period.
