
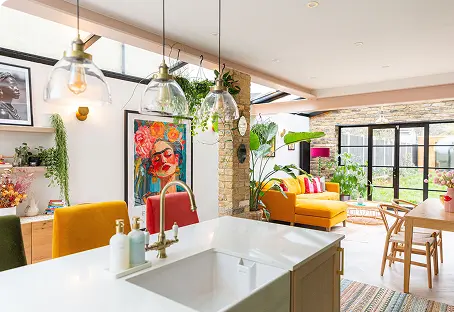
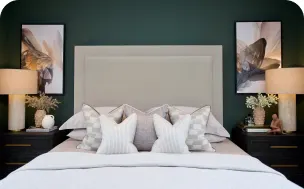
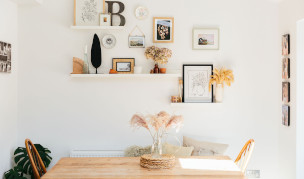
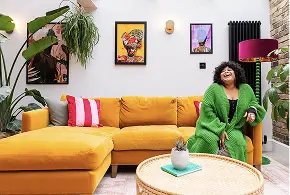


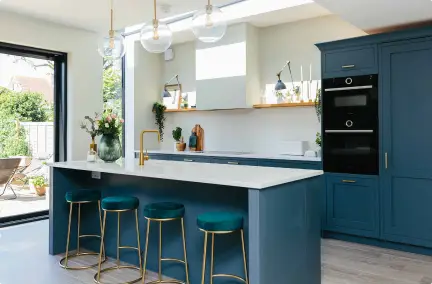
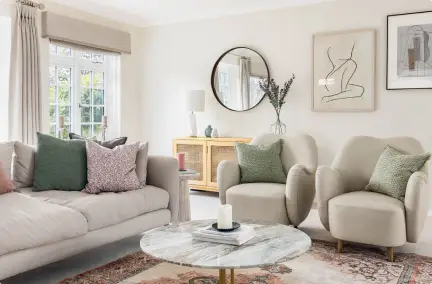
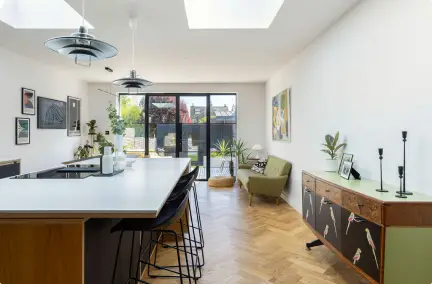
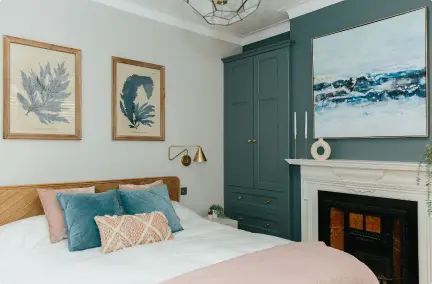










An L-shaped living room is a double-edged sword. On one hand, you’ve hit the floor space jackpot! You have a versatile layout that naturally wants to accommodate multiple areas of your life. On the other hand? Decorating it is a bit of a mind boggle.
Do you treat it as one continuous room or two separate spaces? How do you keep the corner nook from feeling isolated? And what on earth do you do with that awkward internal corner where the two rectangles meet?
At My Bespoke Room, we adore layout challenges like this because they hold so much hidden potential. With a few clever design choices, an awkward L-shape can quickly become the most functional, character-filled, and harmonious room in your home.
Whether you’re juggling a living-dining combo, working from home in a main living space, or trying to create a cosy corner for reading, here are our favourite designer-approved ways to decorate an L-shaped living room.

1. Soften the Internal “L” Bend
When decorating an L-shaped floor plan, our instinct is often to push every straight-edged piece of furniture flat against the walls. But lining up boxy sofas, rectangular coffee tables, and sharp-cornered sideboards along an L-shaped perimeter only highlights the sharp angle in the middle of the room.
To break up those harsh lines, focus on introducing soft, organic curves—especially around the pivot point where the two legs of the room meet.
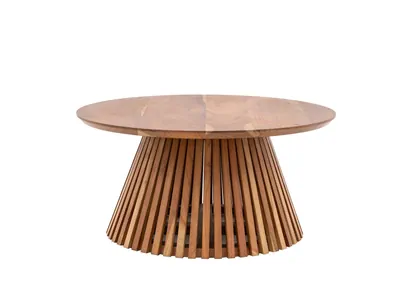
Consider placing a large round pedestal table in the central junction, or position a statement curved accent chair angled inward at the bend. Swapping out a rectangular coffee table for an oval footstool or a nest of circular tables works wonders, too. These curved silhouettes act as a visual palette cleanser, guiding your eyes smoothly from one wing of the room to the next without a jarring stop.

2. “Fifth Wall” Paint Treatment
One of the biggest mistakes people make with L-shaped rooms is painting each section a completely different colour scheme to define the zones. While zoning is important, changing wall colours abruptly at an open corner can make your home feel chopped up and disjointed.
If you want the space to feel expansive and cohesive, use paint to tie the entire footprint together — specifically on the ceiling!
By carrying a single neutral shade (or even a daring colour) continuously across the entire ceiling, you create an uninterrupted umbrella that binds both arms of the L-shape together. If you still want to add personality to distinct areas, bring in colour through wallpaper feature panels, contrasting woodwork finishings, or artwork rather than breaking up the main wall surfaces.
3. Anchor the “Quiet Wing”
In almost every L-shaped living room, one leg naturally gets more foot traffic (usually the main living area leading to the hallway or garden), while the smaller leg acts as a quieter offshoot.
Instead of letting that smaller wing become a dumping ground for clutter, turn it into a dedicated destination by installing low-level, wall-to-wall built-in joinery.
A continuous run of low-profile cabinetry painted in a rich tone gives the smaller nook a clear purpose — whether it’s housing a vinyl collection, hiding away children’s toys, or acting as a sleek home bar. Keeping the cabinetry below windowsill height preserves sightlines right through the room, ensuring the smaller leg feels intentional, spacious, and seamlessly connected to the main lounge.

4. Bridge the Gap
How do you link two distinct zones in an L-shaped room without erecting a solid barrier that blocks natural light? Enter: multi-directional furniture!
Positioning a double-sided daybed, a backless ottoman, or a low-slung bench right at the intersection of the two legs is an absolute game-changer. Unlike a traditional high-backed sofa that acts as a visual wall, a backless piece creates a subtle psychological boundary while allowing conversation and sightlines to flow freely between both areas.
It offers flexible extra seating for parties, letting guests turn toward the main seating group on one side or pivot toward the secondary zone on the other. Plus, it keeps the physical middle of the room feeling light and breezy.
5. Balance Natural Light
L-shaped rooms rarely enjoy equal amounts of sunlight. Quite often, one arm of the room boasts south-facing floor-to-ceiling garden doors, while the secondary arm relies on a single small window or gets no direct natural light at all.
To stop the dimmer leg from feeling cold or neglected, use clever reflective materials to bounce light deep into the darker corners.
Hang a large, antiqued floor mirror opposite the light source in the brighter wing, angled so it catches and reflects daylight straight down the corridor of the darker leg. Incorporating high-shine finishes like polished brass wall lamps, glass-topped side tables, or glossy lacquer accessories in the darker zone will catch every bit of ambient light, instantly lifting the mood and balancing the entire room.

6. Create a Cohesive Thread
While you might use one side of your L-shaped room for movie nights and the other as a quiet home office or dining area, the key to a professional finish lies in repeating key materials throughout the entire space.
Think of it as creating a common visual language. If you have a rich walnut dining table at one end of the room, echo that warm timber through a walnut picture frame or lamp base in the lounge area.
If your lounge features plush velvet cushions in a moody olive green, introduce a velvet trim onto the blinds or seat pads in the adjacent wing. Repeating 2 to 3 core textures, metal finishes, or fabric accents across both legs guarantees that no matter where you stand in the room, the space feels harmonious, considered, and utterly gorgeous.
Ready to Fall in Love with Your Home’s Layout?
Tackling a tricky L-shaped living room doesn’t have to leave you scratching your head! If you’re struggling to figure out where to place your sofa, how to choose the right lighting, or how to bring your personal style to life, our expert interior design team is ready to help.
FAQ:
Start by deciding what each part of the L-shaped space will be used for. The larger section may work as the main seating area, while the smaller section can become a dining space, reading corner, home office or secondary seating zone.
Use furniture placement, rugs, lighting and low-level storage to give each zone a clear purpose. Backless benches, ottomans and other low furniture can create subtle divisions without blocking light or sightlines between the two areas.
Place the TV where it can be viewed comfortably from the main seating area without forcing all the furniture into an awkward position. A media unit, alcove or wall within the larger section often works well, but the best position will depend on windows, fireplaces and how you use the second zone.
They should feel connected, but they don’t need to be identical. Repeating a few colours, materials, fabrics or finishes across both areas creates cohesion while still allowing each zone to have its own function and character.
